Wednesday, June 22, 2011

Recipe: Spaghetti Carbonara

Given how much I love eggs, bacon and pasta, my love for a dish like spaghetti carbonara should sort of be a given. Can I let you in on a dirty little secret? Five years ago I spent two weeks in Italy and never had so much as a bite of the stuff. I can assure you, it was only because I so plump from gelato consumption that I couldn't bear to eat another carb-laden bite. How can you blame a girl...
Just can't fake gelato-induced happiness

When I began compiling recipes for Project Cookbook, Kathleen engaged me in a lengthy discussion about the nirvana that was spaghetti carbonara she had in Italy. Regardless of the fact that is complete proof of how hateful little sisters can be (why torture me so!), it did motive me to get this dish figured out.

Good news, people, it is as simple as it is delicious. So even if you're not jet-setting of to Italy any time soon, you can have what I imagine to be a reasonably acceptable substitute to the authentic version of the dish.


Spaghetti Carbonara
20 minutes
3 Servings

Ingredients:
  • 1/3 lb. uncooked bacon
  • 5 oz. dry whole wheat spaghetti
  • 1-2 cloves garlic, diced
  • 2 eggs, beaten
  • ½ cup grated parmesan cheese

Process:
  1. Dice the bacon and cook in a large skillet over medium heat until crispy (5-8 minutes). Strain bacon pieces out of the grease and dry on paper towels. Reserve 1 tbsp. of bacon grease and discard the rest.
  2. While the bacon is cooking, boil a large pot of water and cook the pasta. When pasta is done, reserve a half cup of the cooking water, then drain and set aside.
  3. With the skillet still on medium heat, cook the garlic for one minute. Toss the spaghetti in the grease and garlic until pasta is coated.
  4. Remove skillet from heat. Add the eggs and two tablespoons of the reserved water and toss until spaghetti is coated. The sauce should be creamy and fully coat the pasta. Add additional water one tablespoon at a time if the sauce needs more liquid.
  5. Add the cooked bacon and grated parmesan and toss to combine.

Tips and Tricks:
  1. When discarding grease, do not pour directly down the drain. Use a container to place the grease in first, then discard in the trash. Small plastic containers (think yogurt containers) work perfectly.
  2. Be sure to break the spaghetti in half. It will make getting the food from your plate to your mouth via a utensil much easier (Cardinal rule of cooking, never complicate the food to mouth part). Even if you (like me) are outrageously skilled at perfectly twirled, long strands of spaghetti with a fork and spoon, the egg will throw off your groove entirely. Trust me on this one.
  3. When you add the eggs, use a spatula to keep the egg from sticking to the skillet. Move the pasta quickly to fully coat it without overcooking the eggs. The eggs should be cooked, but still moist when the bacon and cheese are added in.
  4. Serve with veggies on the side, or add in 1 cup of peas (thawed frozen are fine) when you add in the bacon and cheese. (Just add the peas. You’ll be terribly happy you did.)

Sunday, June 19, 2011

Preview

This is the part where I remind everyone of that inaugural blog post where I said something along the lines of "I suck at blogging."

Normally this type of unintentional hiatus happens when I get in a funk or just a busy spell with work and don't have much time for cooking. But this time, I have been cooking. I've been cooking up a small storm that, if it were named like hurricanes, would fall under P for Project Cookbook. I am less than ten recipes away from having final draft versions of all recipes in the book (This is also the part where I shamelessly plug that anyone who would like to lend themselves for recipe editing/testing will be welcomed with open arms and any kind of baked goods you want).

I should have several new recipes up in the next couple of weeks, but in the meantime here's a visual preview of what's coming:

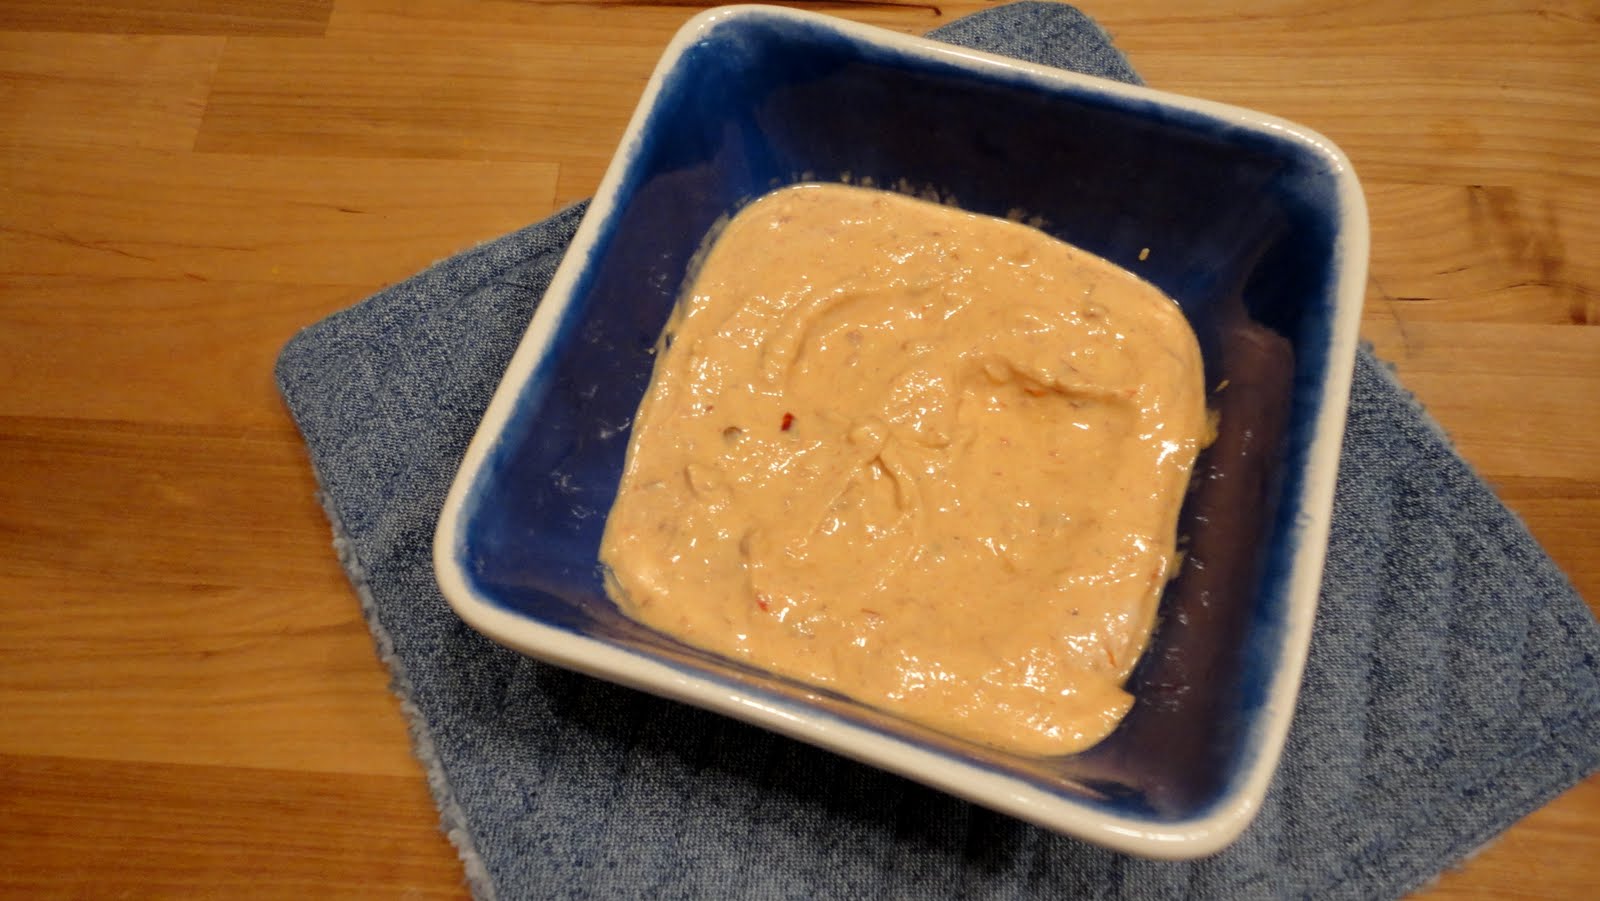
Chipotle Yogurt Sauce

Lemon-Glazed Shrimp

Asparagus and Ricotta Pasta

Poppyseed Noodles

Baked Asparagus

Banana Bread


Italian Breaded Chicken


All coming soon!

Wednesday, June 8, 2011

Broccoli and Rice Casserole / Mom's Cooking

Came across this article on the science behind why "Mom's cooking" tastes so good to us.


If the science doesn't convince you, there's always photographic evidence:


I obviously needed everything on that spoon to be in my mouth. Immediately.
While the dinner table I now sit at involves a lot less country blue, it involves just as much face-stuffing.

Of all of my mama's cooking, nothing makes me think of her quite like Broccoli and Rice Casserole. This was our special dish when I was growing up. Mostly because she and I were the only two in the house that would touch it with a ten-foot-pole. Every now and then she'd make it when most other members were out of the house for the evening (and usually the unlucky sister left at home with us got her choice of broccoli and rice or leftovers). When I moved to Indiana it was the first thing we made in my kitchen. She brought a lunchbox along with all of the pre-cooked parts and pieces and after a long day of unpacking, we cooked, then chowed down with plastic utensils on paper plates.

Omit the bacon and sub cream of celery with cream of chicken for a vegetarian version. Sub out the white for brown rice for a healthier version. But I'll let you in on a secret. This is one of those recipes that's just so, so much better with unadulterated bacon and intoxicatingly aromatic basmati rice. Maybe it's just my genes talking, but Mom's way is the best.


Mom's Broccoli and Rice Casserole
60 minutes (40 minutes unattended)
6 Servings
Mom’s Kitchen

  • 4 strips bacon
  • ½ cup celery, chopped
  • ½ cup onion, chopped
  • 1 can cream of chicken soup
  • 1 cup of milk
  • 3-4 cups broccoli, chopped
  • 2 cups rice, cooked
  • 2 cups shredded cheddar cheese

1.         Heat oven to 350 degrees.
2.         In a medium skillet, sauté the bacon, celery and onion. Cook for 5-7 minutes, or until bacon is cooked and onions are translucent. 
3.    Place the broccoli in a medium saucepan and cover halfway with water. Cook over medium heat for 3-4 minutes, stirring occasionally. Drain broccoli.
4.         In a large bowl, mix the soup, milk, broccoli and rice. Stir in cooked bacon, celery and onion.
5.         Add mixture to the prepared casserole dish. Top with grated cheddar cheese.
6.         Bake for 30-40 minutes, or until cheese is melted and casserole is bubbly. 


Tuesday, May 31, 2011

Manicotti Glamour Shots

A preview of the photos from the manicotti night...

But first, I have to tell you, the recipe is still in the works. All because I was in a hurry at the grocery store. When it says smoked mozzarella, read the ingredients. If the ingredients consist of something, something, something, smoke flavor, put it down and walk away (It may as well say "something, something, something, dark side"). I am here to tell you that smoke-flavored "smoked mozzarella" will only make you unhappy. And will make all your other cheese taste like fake smoke.

Got that, boys and girls? No rushing through the cheese aisle.

Inferior cheese rant complete. Now on to the photos...

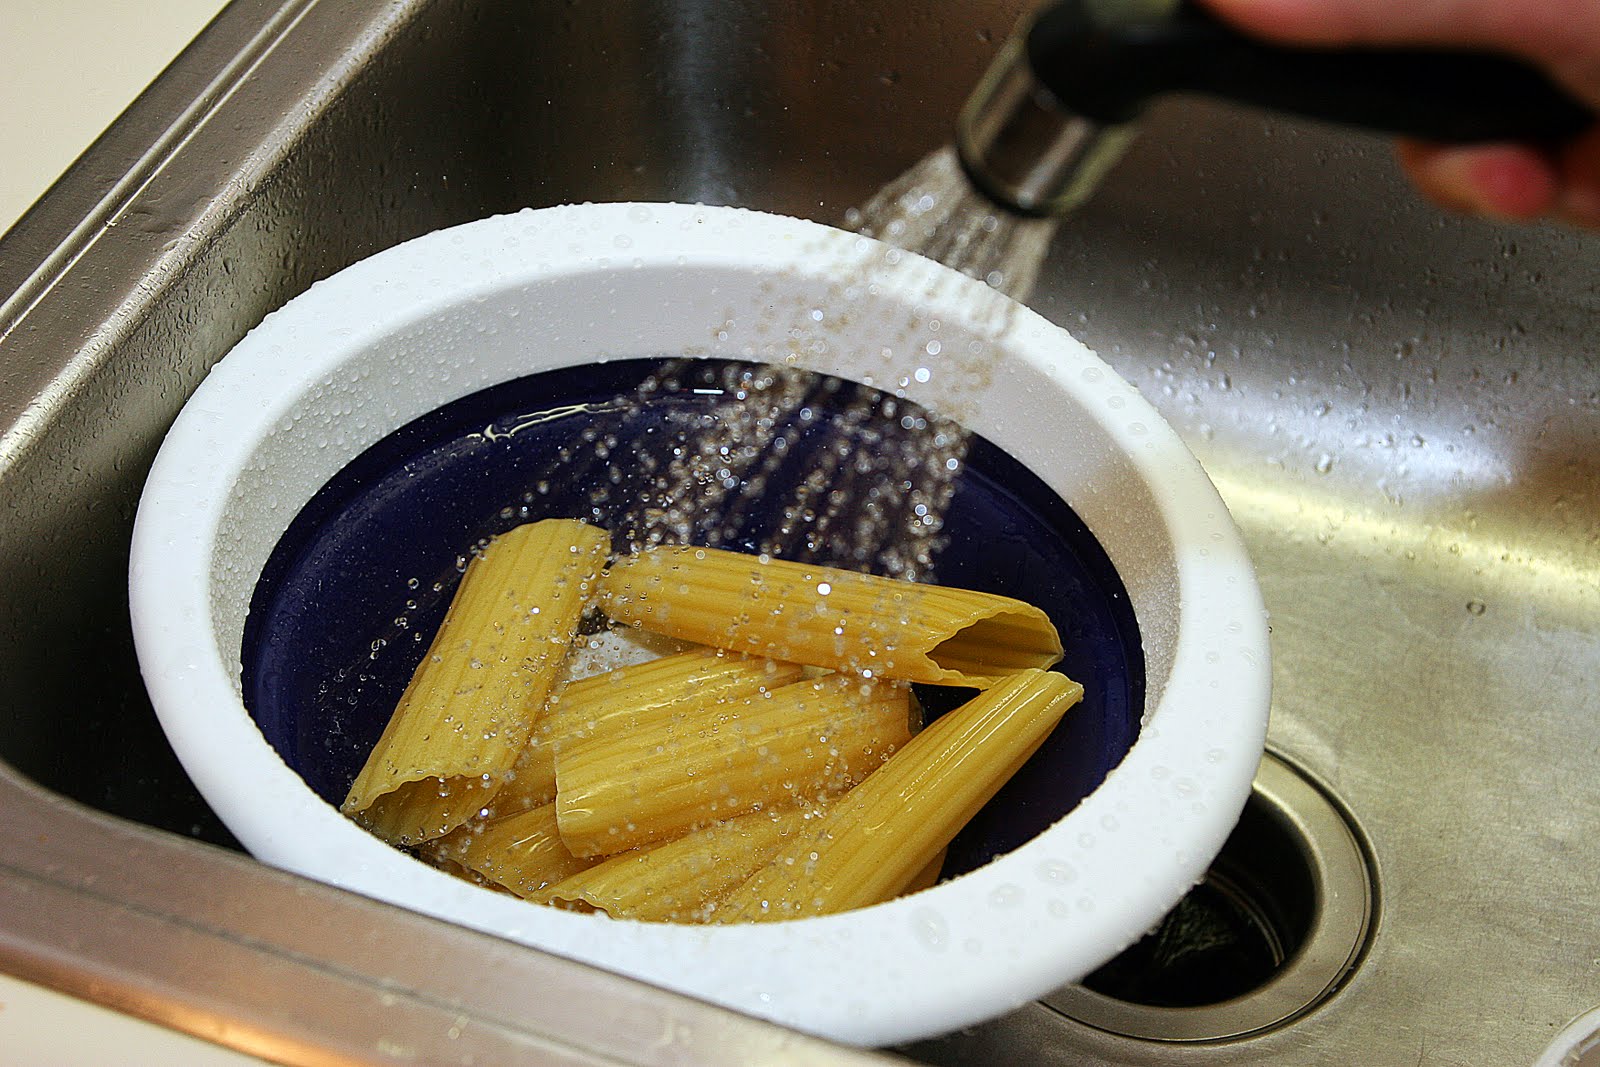
Rinsing the noodles

Stuffing

Glamour shot

Parsley close-up

(Unadulterated) mozzarella close-up 

Pre-baking

Chopping the parsley

After baking (Please note the manicotti already missing from the tray. This is a common theme in my food photos. I forget to wait until I take the after picture to chow down...)

Not quite as pretty as the glamour shot, but this is what the manicotti actually looks like before you will chow down.

Sneaky photographer stole a shot as I was demanding he try the filling.

Saturday, May 28, 2011

Recipe: Banana Pancakes

If there's one thing I can cook in my sleep, it's pancakes. I've been making them every Saturday morning since I moved to Indiana, which means I've probably cooked them around a hundred times, literally. Usually I tweak the living daylights out of any recipe cook with regularity, but this one I leave alone. I adore the fluffy, yet thin and lightly sweet texture and flavor. Most importantly, I know exactly what to expect every time I go to cook them.

Last month I was on a business trip with my colleague, Kelly. We got into a conversation about the challenges of cooking for just one person, a challenge both of us can relate to, when she mentioned she was looking for a banana pancake recipe. I didn't have one I could recommend, so I told her I'd see if I could modify the one I use for plain pancakes.

Just adding in mashed banana to my current recipe didn't seem like a brilliant plan, so I tweaked the quantities of flour and buttermilk to balance out the texture. The original recipe has more sugar, but the banana provides sweetness that makes up for the reduced amount of sugar. The end product is simply delightful. It's like dessert for breakfast.

Do yourself a favor when you make these: Try them naked first. The knee-jerk reaction to pancakes is to doctor them with butter and maple-flavored syrup. Sub-par pancakes may need the help but these pancakes are different. They have plenty of flavor and sweetness on their own that they need hardly any topping at all. You may even decide you prefer them that way.

When you do get around to topping them, try a thin layer of peanut butter, chopped walnuts and just a drizzle of maple syrup*.

*When I say maple syrup, I mean the real stuff. Not the reduced-calorie, HFCS-saturated, kinda-tastes-like-sweetened-plastic junk. Check out grocers that have bulk bins and get your maple syrup there. This allows you to get a fresher product and lets you buy a smaller quantity.


Banana Pancakes
Original Recipe, Especially for Kelly
15 minutes
Serves 2
Easy

These pancakes give a use for that overripe banana in your kitchen. Try topping with peanut butter, chopped walnuts and a touch of syrup for a decadent breakfast.

Ingredients:
  • 1 overripe banana
  • ½ Tbsp. butter, melted
  • 1 egg
  • ½ c. buttermilk
  • 1/3 c. regular white flour
  • ¼ c. wheat flour
  • 1 tsp. sugar
  • ½ tsp. baking powder
  • ¼ tsp. baking soda
  • ¼ tsp. salt

Process:
  1. In a small bowl, mash the overripe banana until mostly smooth.
  2. Add the melted butter, egg and buttermilk to the banana. Whisk until well combined.
  3. In a separate, larger bowl, mix together the flours, sugar, baking powder, baking soda and salt.
  4. Add wet mixture into dry mixture and fold together until just combined.
  5. Place a griddle over medium heat. When warmed, place ¼ cup of batter on the griddle for each pancake. Allow to cook for two minutes on one side, or until browned underneath.
  6. Flip the pancakes and cook for an additional two minutes on the other side. Serve immediately.

Tips and Tricks:
  1. When mixing the wet and dry ingredients together, stir them as little as possible. The more they’re mixed at this step, the flatter they’ll end up. I usually fold until they’re mostly combined and then whisk lightly with a fork to integrate any errant flour.
  2. To test if your griddle is hot enough for the pancakes, flick a drop of water on the warmed surface. It should skid and evaporate fairly quickly. If it evaporates almost instantly or just sits on the surface it is too hot or too cold, respectively.
  3. If you wish to use all white flour, omit the wheat flour and use an additional ¼ cup of white flour.

Friday, May 20, 2011

Spaghetti, Meatballs and Really Pretty Pictures

The genius at work


Meet Holly. She is a graphic-designing, photo-shooting, half-marathon running, all-around rockstar. She is also quickly becoming co-pilot of Project Cookbook.

Tonight marks the first official complete recipe for Project Cookbook. And thank goodness, the photos were taken by someone much more skilled than myself. Check these out!

Spring Greens Salad with Strawberries and Walnuts (also wine)

But the salad is nowhere near impressive as the main dish. 


The spaghetti and meatballs is based on my mom's recipes for the dish which, I believe, are based on recipes that originated from the Hilltop Inn in St. Louis, Missouri (Or Missura, if you're my mama).  These recipes aren't what my sisters and I grew up on, only because it's much more practical to crack open a jar of Prego and brown some hamburger than make sauce and meatballs from scratch when you chase after three (kinda bratty) daughters for a living. Once we got to a place where we not only appreciated my dear mother's cooking, but wanted something more than a jar of sauce over cooked up pasta, this is what she came up with.

The meatballs can be changed to suit your personal preferences. If you like meatballs with lots of textures and diverse flavors, I'd recommend finely chopping the ingredients that go into them. If you want them to be one texture and blended flavor throughout, finely puree in a food processor. If you (like me) enjoy them somewhere in the middle, pulse in a food processor until well combined, but not pulverized. Feel free to add some crushed red pepper to the spice mixture to heat these up.

The sauce can be customized in a similar way. If you prefer a chunky sauce, start with tomatoes and onions diced to a size you want in the finished product. If you want a smooth end product, it doesn't matter what kind of dicing you start with because it'll end up blended together. An immersion blender is super handy for this, but a traditional blender will work just fine. Be sure to allow the sauce to cool off a bit before and be very cautious pouring it (pointed away from you!) into the blender.


Meatballs
35 minutes (25 minutes unattended), Servings

  • 1 egg
  • 1 slice of bread
  • ¼ cup parmesan cheese, coarsely grated
  • ½ small onion
  • 2 tbsp parsley
  • 2 cloves garlic
  • 1 tsp. rosemary
  • ½ tsp. thyme
  • ½ tsp. salt
  • ¼ tsp. black pepper
  • ¾ lb. ground beef
  • ¼ lb. ground turkey
1.         Preheat oven to 350 degrees. Line a baking pan with aluminum foil and place a cooling rack over the pan
2.         In a food processor, combine egg, bread, parmesan cheese, onion, parsley, and garlic. Process until just combined.
3.         In a large bowl, combine the processed mixture, spices, and meats. Form into meatballs approx. 1” to 1 ½” in diameter and place onto a baking sheet.
4.         Bake for 20-25 minutes.


Marinara Sauce
40 minutes (30 minutes unattended), Serves 6

  • ½ cup chopped onion
  • 2 cloves garlic, minced
  • 1 Tbsp. olive oil
  • 1 28 oz. can of chopped tomatoes
  • ¼ cup red wine
  • ¼ tsp. salt
  • ½ tsp. oregano
  • ½ tsp. thyme
  • ¼ tsp. rosemary
  • 1/8 tsp. cayenne pepper
  • 1/8 tsp. ground black pepper
  • ¼ cup snipped fresh basil1-2 Tbsp. sugar

1.         Heat oil in a large saucepan over medium heat. Add onion and garlic and cook until onion is tender.
2.         Stir in tomatoes, wine, salt, and spices. Bring to a boil and simmer uncovered for 25-30 minutes.
3.         Stir in basil and sugar. Cover and cook for 5 additional minutes.
4.         Use an immersion blender or transfer to a traditional blender to smooth sauce, if desired.

Saturday, May 14, 2011

Project Cookbook

For my darling little sister's 21st birthday, I promised to make her a cookbook full of her favorite recipes from our childhood. Sweet, huh? I mean, isn't this what every 21-year-old wants? A cookbook instead of a trip to the bars? This gift and its proximity to her 21st is truly coincidental. It just so happens that she'll be moving into her first apartment just days before. The move is the true motivator for the gift, but I do like the idea of telling people that's what I did for her 21st. Kind of like telling the story of how the Vegetarian took me to the dump on my birthday the first year we were dating...

Last year when I pledged my intent to create this gift, it seemed totally manageable. I mean, I had 365 days to pull it off. I was including fairly easy recipes, all of which were familiar and some that I could make in my sleep. All I have to do is snap a couple of pictures and throw it into a snapfish album and bam! Instant awesome big sister birthday present!

Now I am t-minus 90ish days out from said birthday and I have a little bit of a confession...I haven't really started.

I'm totally on it now. I swear. I have dedicated the blog as the location of all of my cookbook-related happenings. Either my throngs of readers, or the illusion of their presence, will surely keep me on task.

Here's the lay of the land:
  • I'd like to give some instructional/informational copy in the book. A resource for the basics is never a bad thing.
  • The photos are a must. Photos of both the process and the finished project. Have I mentioned having a freelance photographer best friend and boyfriend is perk of my life?
  • The book will be broken up into meal types: Breakfast, Lunch/Sides/Soups, Dinner, Dessert. (Cooking Information will also have its own section). The book will not have enough recipes to break it down by ingredient and sorting by meal probably makes the most sense for a beginner cook with not too many recipes. I am nearly convinced it is a perfect plan...
Recipes that shall be included:
  • Spaghetti and Meatballs
  • Sandy's Chicken Stuff 
  • Mom's Homemade Pizza
  • Westview Chili
  • Poppyseed Noodles
  • Manicotti (Though to her credit, she could probably make this one in her sleep.)
  • Spaghetti Carbonara (Like she had in Italy)
  • Baked Potatoes
  • Potato Pancakes
  • Pancakes
  • Popcorn (Again, could make it in her sleep. I guess I dream her roommates will love this cookbook too.)
  • Corn Casserole (Mom's way)
  • Cinnamon Rolls (Also Mom's way)
  • Sugar Cookies (You guessed it...Mom's way)
  • Chocolate Chip Cookies (Not Mom's way. Because that involves walnuts.)
I'm also working on a couple of original recipes as well based on ingredients I know she likes.

I should mention the major challenge of this project is that little sis and I could not be more different in the foods that we like. I could go vegetarian tomorrow and (almost) never look back. She won't touch green foods with a ten-foot-pole.  I'm nearly certain our mother hid veggies in her food as a child, but when you're cooking for yourself that whole "I'm just going to put this zucchini puree in here and I'll never notice!" trick doesn't work as well.

So, Spoonful of Something, meet Project Cookbook. Hopefully by the end of summer I'll have both a fabulous beginner's cookbook and a curriculum for beginning cooking classes and lessons. It'd also be a nice birthday present for me, provided I can crank out a first version of both without sprouting any gray hairs.

Friday, May 13, 2011

A Friday Night in my Kitchen

Sometimes my cooking goes a little like this:

autopilot...
autopilot...
more autopilot...

and I just cracked an egg on my countertop.


Also, the Pad Thai I made did not so much taste like Pad Thai.

Ladies and gentlemen, I am here to tell you that raw eggs on your counter and so-no-proper Pad Thai are perfectly acceptable on a Friday night after two very, very long weeks of working. That's my story and I'm sticking to it.

For the record: Raw eggs on the countertop? Moderately salvageable. That is all.

Wednesday, May 4, 2011

Cooking for Beginners, Round Two

I am happy to report that I did not scare my students off after week one of cooking for beginners. Hooray!! Last week I was happy to get down to business and do some serious cooking with these ladies. So much more fun than the more hands-off nature of the weeks before, but you know...that darn horse liking to have the cart behind it.

And once again, my brilliant pre-class plan turned out to be not as brilliant as I'd thought. My intent with this round was to begin teaching some basic cooking techniques, specifically sautéing, stir-frying and roasting. That was going swimmingly until I forgot to pack the right oil for stir-frying. (Sidebar: do you know how hard it is to pack everything from your own kitchen you will need to teach a cooking class? do you know how much harder it is to accomplish this the night before at 1:00 AM after a day of driving across the midwest?!) Obviously, it would have been too easy for the kitchen I was using to happen to have some appropriate oil on hand, so the stir-fry got scratched.

This ended up making the timing perfect, as 90 minutes was enough to have discussion, instruct on roasting potatoes and instruct and make chili.

My purpose behind basing this section of the course on cooking methods is rooted in this thought: If you know how to saute/bake/braise/stir-fry/chop/whisk, etc. you will be much more confident when a recipe asks you to perform these tasks. I think it's harder understand "chop 1 medium onion and mince 1 clove of garlic. Heat a skillet with 2 tbsp. of olive oil to medium and cook onion and garlic until translucent." than "sautee 1 chopped medium onion and 1 minced clove of garlic in olive oil." If you know the words, you have a much easier time speaking the language.

In addition to roasting potatoes (done up simply with olive oil, salt, pepper and thyme, by the way. Which they LOVED, by the way) we cooked up some chili.

Thought process for teaching chili:
1. It's April and still feels like February. Let's extend chili season by a few weeks, shall we?
2. I am not being paid to teach this class. They are not paying to take this class. Chili is the cheapest thing on the planet to make.

I also considered the fact that I could integrate an opportunity to teach sautéing, but believe me, the comfort food aspect was on the forefront of my thinking. So we learned how to smash garlic for peeling, the easy way to open up an onion and how to cut an onion. Then we practiced our saute. And our ability to walk away (accidental rhyme, I swear). I'm learning that people who aren't totally comfortable cooking love to stir food. I assured them It's not a super fine line between keeping the food practically raw and burning it to a crisp, so they slowly set down their wooden spoons and backed away and just let everything on the stovetop do its thing. Cooking on medium heat, it's going to take some time to do seriously irreparable damage. Just don't walk away and forget about it.

This brings up the other interesting aspect of the class: I refused to let them use recipes. Now, having me there giving specific instructions helped reduce the need for one in the first place, but there's something different about having to cook with your brain, not just your reading comprehension skills. I have to say, these ladies were great sports about being refused an index card to live and die by.

After getting onion and garlic prepared, they went to the table with a lot of potential chili ingredients and were told to add whatever they wanted in whatever amount looked good to them. After getting that warmed up and tasted, they reported that it was pretty boring...because I hadn't let them add any spices. I wanted to give them an idea of what it tasted like before they started so they knew where they were going with the seasoning. Lots of chili powder, cayenne pepper, cumin and coriander later, we had three delicious and unique pots of chili bubbling away on the stove.

I rewarded them with a tray of lovely roasted potatoes to munch on at the end of class and a pot of chili of their very own that they were able to take home to finish. I was happy to hear back from them that they all were very pleased with and proud of the food that they'd made. That's what it's all about for me. Helping someone be proud of their accomplishments, no matter how small, especially when they take them home to share with the people they love.

The next couple of weeks will be spent tweaking this plan that I've put in place over the last month to refine it into actual individual cooking lessons and a more formal teaching plan. But in the meantime, there is leftover chili in the freezer and I can't wait for the next time I get to teach!

Saturday, April 30, 2011

Recipe: Carrot Souffle

Mr. Bill Cook, founder of Cook Medical, and the reason I ended up in Bloomington, passed away on April 15th. I don't know if it was among his favorites, but I do know he immensely enjoyed this recipe. The way I've heard the story is this souffle was served at the Cook Employee Banquet one year and the attendees, including Mr. Cook, absolutely loved it. Next year it was gone and the attendees, including Mr. Cook, were not pleased. The following year it was back.

What Mr. Cook wanted, Mr. Cook got. But when you're an entirely unpretentious billionaire that doesn't care about money, I think people are generally alright with you getting your way.

Carrot Souffle
Adapted from the kitchens of the West Baden Resort
60 minutes, 45 minutes unattended
6 servings as a side
Difficulty: Easy


Ingredients:
  • 1 lb. carrots
  • ½ c. sugar
  • 1 tsp. vanilla
  • 3 Tbsp. melted butter
  • 3 Tbsp. olive oil
  • 3 Tbsp. flour
  • 3 eggs
  • ¼ tsp. nutmeg
  • 1 tsp. salt

Process:
  1. Preheat oven to 275 degrees.
  2. Peel the carrots and boil them in a large pot of salted water until tender.
  3. Drain the carrots and place them in a food processor with the sugar, vanilla, melted butter, olive oil, flour, eggs, nutmeg and salt. Process until smooth.
  4. Pour into a greased 8x8 dish and bake for 45 minutes.

Leftover quality: Good

Tips and Tricks:
  1. To speed up the boiling, cut the carrots down from their full length before adding them to the water. Test the doneness with a fork – if it goes through easily, they’re cooked enough.
  2. You can bake the soufflés in individual ramekins if you’d like. Reduce the baking time to 30-35 minutes if you choose this method.
  3. If you’re baking in the 8x8 dish, you can serve the soufflé sliced from the dish, or you use a fork to whip the soufflé and serve it like mashed potatoes.